
Last updated November 4, 2026
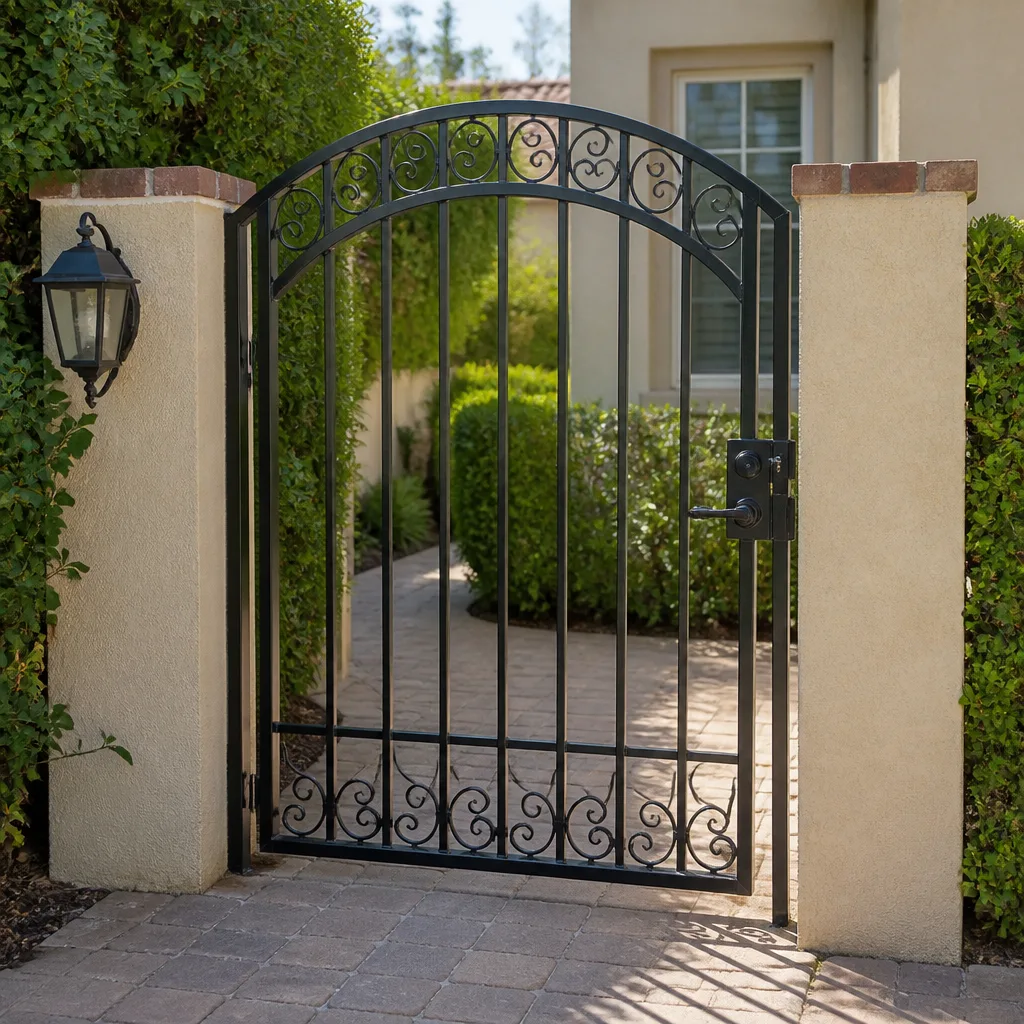 Wrought iron
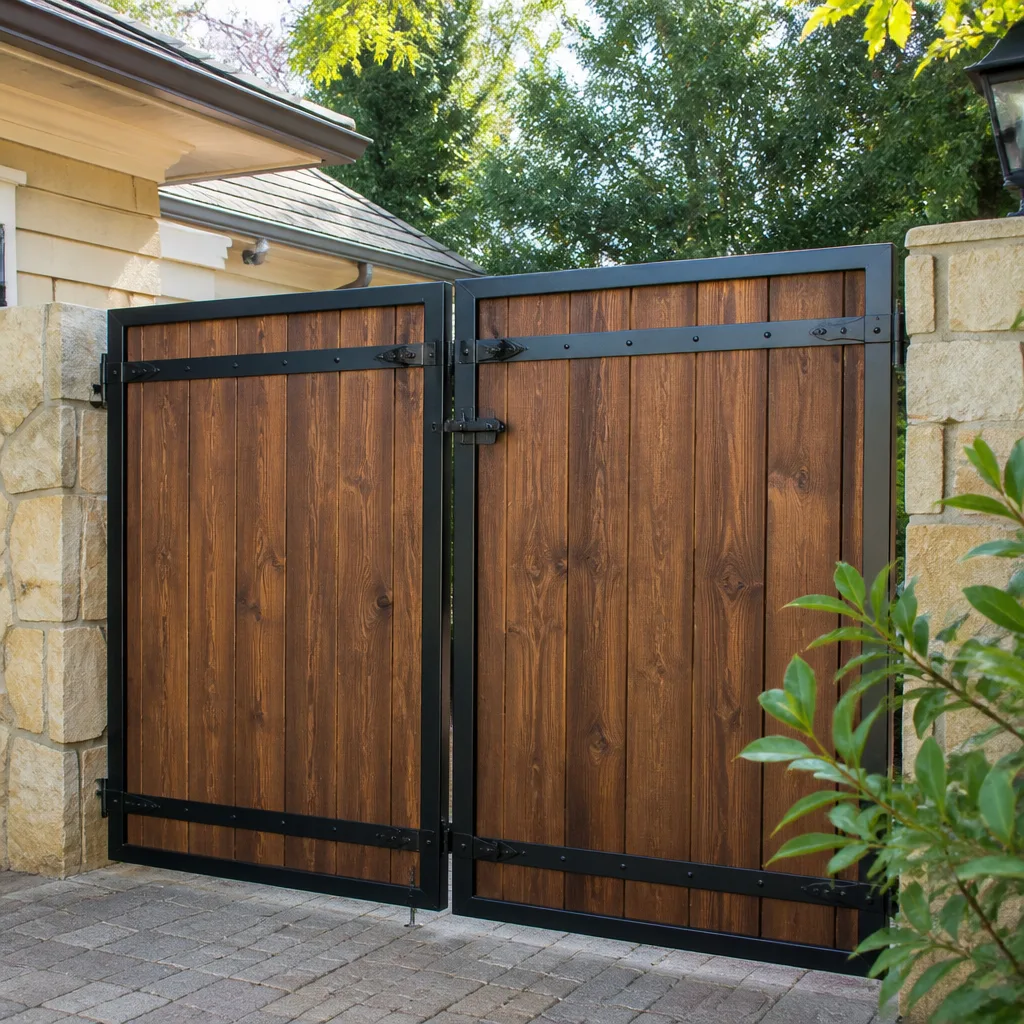 Wood & steel frame
 Farm & ranch
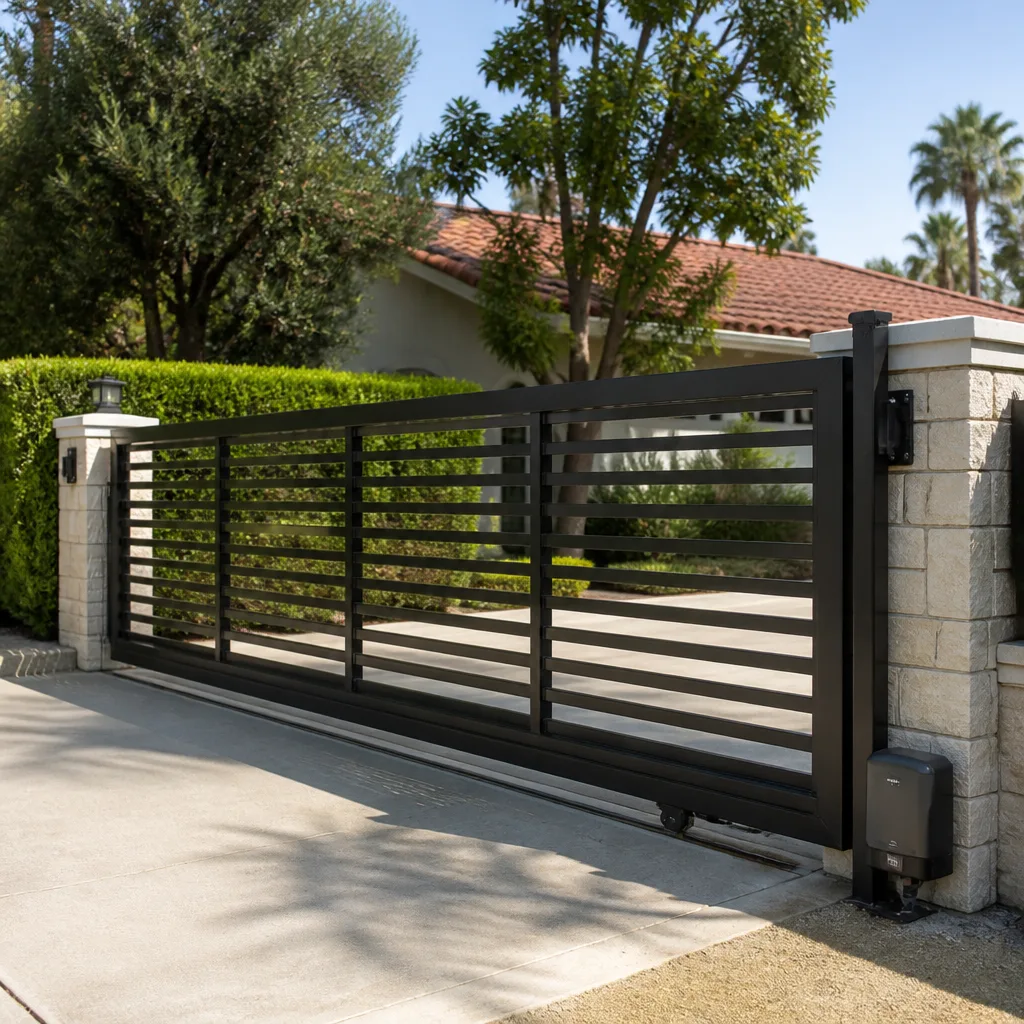 Sliding driveway gates
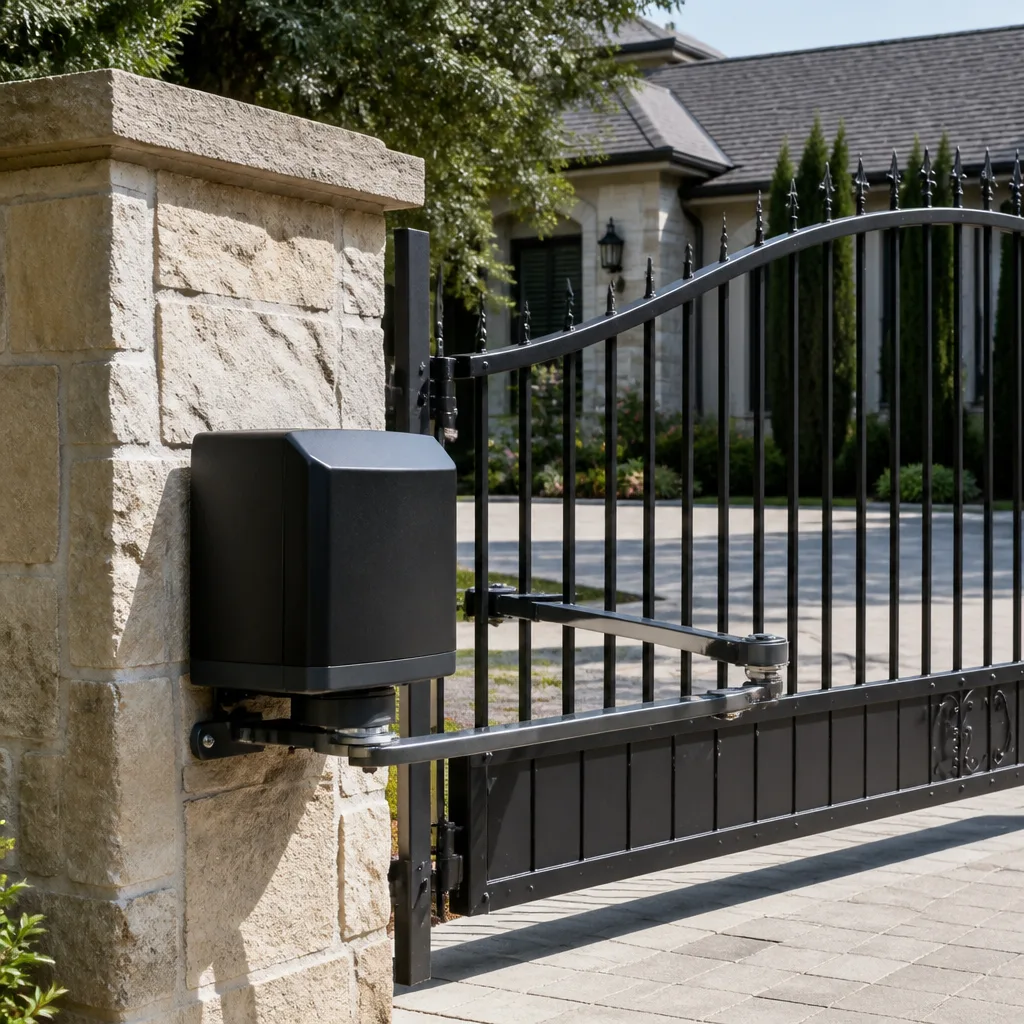 LiftMaster operators
Free on-site gate assessment - hinges, posts, and your LiftMaster or Nice gate operator checked before anything is quoted
The assessment is free and the quote is the invoice.
Get your free estimateDIY vs Professional Gate Repair: The Murrieta Homeowner’s Decision Guide
The most expensive gate repair is often the one attempted twice. A homeowner in Murrieta watches a video, buys a replacement control board for a LiftMaster operator, installs it, and the gate still won’t move. The real problem was a failed safety loop in the driveway. Now they’re out the cost of the board, the time, and they still need a technician. This guide exists to prevent that exact sequence. We’ll walk you through which gate tasks are genuinely safe for a homeowner to handle, which ones carry hidden liability, and where the dividing line actually sits in California. You’ll learn what to check before buying parts, what Murrieta’s climate and soil actually do to gate hardware, and how to avoid the diagnostic trap that turns a $150 repair into a $700 one.
Quick Answer
DIY gate repair is appropriate for simple, non-electrical tasks like lubricating hinges, cleaning photo-eye lenses, and replacing remote batteries. Professional repair is the correct choice any time the task involves the operator’s wiring, limit switch calibration, entrapment protection sensors, or structural components like posts and hinges under load. The dividing line is not your skill level. It’s whether the component you’re touching affects the UL 325 entrapment protection system that California property owners are legally responsible for maintaining.
Styles & brands we work with
- Wrought iron
- Wood & steel frame
- Farm & ranch
- Sliding driveway gates
- LiftMaster operators
Table of Contents
- Safe DIY Gate Maintenance Tasks
- DIY Tasks That Create Hidden Risk
- California Liability and UL 325: What Murrieta Homeowners Need to Know
- The Parts-Buying Diagnostic Trap
- When Waiting Costs More Than the Repair
- What Murrieta’s Climate and Soil Do to Gate Hardware
- Cost Comparison: DIY vs Professional in Murrieta
- Common Mistakes to Avoid
Safe DIY Gate Maintenance Tasks
Some gate maintenance is genuinely homeowner territory. These tasks require no electrical work, no disassembly of the operator, and no adjustment to safety systems. They’re about keeping the mechanical components clean, lubricated, and free of obstruction. If you’re comfortable with basic hand tools and follow the steps below, these are safe to perform yourself.
We work on every brand that’s common in Murrieta, from Mighty Mule residential operators to FAAC commercial systems, and we can tell you the same thing applies across all of them: the mechanical wear points need regular attention regardless of who manufactured the operator.
Here are four tasks you can handle without calling a gate repair specialist:
- Lubricating exposed mechanical components. Hinges, pivot points, and the gate’s roller wheels (if it’s a slide gate) need lubrication roughly twice a year. Use a silicone-based lubricant or white lithium grease. Apply it sparingly to the hinge pins and pivot brackets. Wipe away excess. This keeps the gate from sagging and reduces strain on the motor.
- Clearing debris from photo-eye lenses. The photo eyes are the small sensors mounted near the ground on either side of the gate opening. Dust, cobwebs, and sprinkler overspray can coat the lenses and trigger false obstruction readings. A dry microfiber cloth is usually all you need. Do not use glass cleaner with ammonia, which can cloud the plastic lens over time.
- Replacing remote control batteries. If your remote works intermittently or only at very close range, the battery is the first thing to check. Most remotes use a standard 9-volt or coin cell battery. Open the case, note the battery type, and swap it. This fixes a surprising percentage of “my gate won’t open” calls we get.
- Resetting a tripped reset button. Many operators have a small reset button on the motor housing. After a power outage or a surge, the unit may trip and refuse to run. Unplug the operator or flip its breaker, wait thirty seconds, and restore power. If it still won’t run, the problem is likely beyond a reset.
These four tasks cover most of what a Murrieta homeowner can safely do without professional help. Notice what’s not on the list: anything involving wiring, anything involving the safety sensors’ alignment or calibration, and anything involving the physical structure of the gate or its posts.
DIY Tasks That Create Hidden Risk
This is where the decision guide gets specific, because it’s where homeowners get hurt or create liability for themselves. The tasks below look mechanical or simple. They are not. Each one affects a system that must be calibrated correctly to prevent injury.
Adjusting Limit Switches
Limit switches tell the operator when to stop the gate at its fully open and fully closed positions. They seem easy to adjust because they’re typically small mechanical screws or magnetic stops on the operator track. Here’s what most videos don’t tell you: the limit positions directly determine how much force the gate applies at the end of its travel. If you set the closed limit too far, the gate wedges against the post and the motor draws excessive current. If you set it too short, the gate leaves a gap that defeats the security purpose. The dangerous version is when a homeowner adjusts the limits to squeeze past a sagging gate or a misaligned track, and in doing so, changes the force profile enough that the obstruction detection no longer functions correctly.
California law, under the UL 325 standard that governs automatic gate operators, requires that the operator’s entrapment protection function correctly at all times. A miscalibrated limit switch can mean the gate doesn’t reverse when it encounters an obstruction. That’s not a gate problem. That’s a potential injury liability for the property owner.
Splicing Wiring
Gate operator wiring carries line voltage and low-voltage control signals, often in the same conduit or junction box. A loose splice on a low-voltage sensor wire can cause intermittent failure that’s nearly impossible for a homeowner to diagnose. Worse, a splice exposed to Murrieta’s irrigation moisture will eventually corrode and fail. If the splice is on the wrong side of the run, the gate may continue to operate with disabled safety sensors for weeks before anyone notices. That’s the exact scenario that creates an entrapment hazard.
Repositioning Entrapment Sensors
Photo eyes and edge sensors are positioned according to the manufacturer’s specification and the physical layout of the gate. Moving one “a few inches” because it keeps getting hit by the gate, or because a plant keeps blocking it, changes the detection zone. An entrapment sensor that’s supposed to monitor the entire gate opening may now only monitor part of it. Repositioning sensors properly requires knowing the gate’s travel path, the swing arc (for swing gates), and the applicable UL 325 requirements for the specific type of gate.
The common thread across all three tasks is calibration. Electric gate repair is not just about making the gate move. It’s about making it move safely, stop at the right points, and reverse when it encounters resistance. A homeowner can absolutely learn these skills. Doing them correctly the first time, on your own gate, with no margin for error, is a different proposition than watching someone else do it on a different gate in a video filmed somewhere without Murrieta’s soil conditions.
California Liability and UL 325: What Murrieta Homeowners Need to Know
California property owners carry a specific legal exposure when it comes to automatic gates. The UL 325 standard is a national safety standard for gate operators, but California courts have treated it as a benchmark for what a reasonable property owner should know and maintain. If a gate injures someone, the question that gets asked is whether the owner maintained the operator in accordance with the standard.
That matters for DIY work because it changes the risk calculation. If you replace a control board and the gate later fails to reverse on an obstruction, you’re not just dealing with a repair issue. You’re potentially dealing with a personal injury claim where your own modification is part of the record. The fact that you didn’t know the standard, or that you followed a YouTube tutorial, doesn’t shield you from that exposure.
A professional shop carries its own insurance and warranty on the work. When a licensed professional adjusts your limit switches or replaces a sensor, the liability for the correct function of that system transfers to the professional for that repair. When you do it yourself, you own the outcome.
For Murrieta homeowners specifically, this matters more than in some other markets. A lot of the property here includes side yard gates where kids play, RV gates, or driveway gates that see frequent use by delivery drivers and guests. The more people who use the gate, the higher the statistical exposure to an entrapment event. This is also why we take the position we do: the correct answer to “DIY or professional” is not a blanket policy. It’s a task-by-task evaluation of what the component does and whether you can verify, with confidence, that it functions to the standard.
The Parts-Buying Diagnostic Trap
This is the most expensive DIY mistake we see, and it happens constantly. A homeowner in Murrieta notices their gate opens but won’t close, or closes but won’t open, or runs halfway and stops. They watch a few videos, identify a likely culprit, and buy a replacement part. The part arrives. They install it. The gate does exactly the same thing it did before.
In our experience, the most common misdiagnosis is confusing a sensor failure with a control board failure. The homeowner replaces the board, which is the most expensive single component, when the real problem is a photo eye that’s out of alignment or a worn loop detector in the driveway. The fix for those is $80 to $200 in parts and labor, not $300 to $600 for a board. The DIY attempt didn’t just fail to fix the problem. It wasted the cost of the board, and now the owner has two variables instead of one: the original problem and a new, possibly incompatible, aftermarket board installed by someone who may not have matched the revision.
Another variation: the homeowner replaces the remote’s circuit board because the remote “stopped working,” when the problem is actually the receiver’s antenna, which sits inside the main operator housing. The remote was never the issue. The gate would have worked from the keypad the whole time.
The reason specialists avoid this trap is cross-brand familiarity. A technician who has worked on LiftMaster residential operators and BFT commercial operators has seen the failure modes of both. They know that a Mighty Mule operator with a specific symptom usually points to a specific component, and that the same symptom on a Viking operator points to something different. They’re not guessing from a parts diagram. They’re matching the symptom to the board revision and the installation environment.
If you’re considering buying a part to save money, the better use of that money is a professional diagnosis. You’ll learn exactly what’s wrong, and then you can decide whether to do the repair yourself with that information. Most of our customers choose to have us do the work once they understand the actual failure, but the diagnosis itself is information you own either way.
When Waiting Costs More Than the Repair
Some gate failures are stable. A hinge that squeaks will still be a squeaky hinge next month. A keypad with a sticky button will still work for a while. Other failures are progressive, and delaying the call changes the price bracket. Here are the scenarios where waiting to “figure it out yourself” directly increases the eventual cost.
A gate that has started to move more slowly than it used to is drawing more current than the motor was designed for. That extra current generates heat, and heat shortens the motor’s life. What starts as a $120 belt tension adjustment or a hinge realignment can become a full motor replacement if the motor runs hot for months. The cheap fix disappears once the motor burns out.
A gate that intermittently stops at random positions is usually telling you about a failing sensor or a wiring fault. Intermittent faults are the worst kind to live with because the gate may work fine for weeks between failures. But while the fault is intermittent, the root cause isn’t healing. It’s degrading. That degraded sensor wire or failing loop detector will eventually fail completely, and depending on how it fails, it may take the control board with it. A $150 sensor replacement done early becomes a $500 board replacement done late.
A gate that sags visibly at the latch side is putting twice its normal force on the hinges and the operator. Every cycle grinds the hinge pins and strains the motor. The repair window for realigning and reinforcing the hinges is months long, not weeks, but eventually the operator burns out or the gate tears its own hinge brackets. That’s the difference between a mechanical adjustment and a structural repair plus an operator replacement.
We recommend calling at the first sign of a change in how the gate runs. Slightly slower, slightly noisier, slightly hesitant, occasionally hitting the post. None of these are emergencies, but all of them are cheaper to address the day you notice them than three months later. The phone number is (855) 817-0665. We answer 24/7, and the estimate is free.
What Murrieta’s Climate and Soil Do to Gate Hardware
Murrieta’s environment creates a specific set of wear patterns that homeowners in other regions don’t deal with. Understanding these helps you make better decisions about whether a repair is a maintenance issue or a structural one, and it explains why some DIY fixes keep failing.
The dominant factor here is heat and UV exposure, particularly in the summer months. Gate operators sit in direct sun on the side of the driveway. The plastic housings, photo-eye lenses, and exposed control boards absorb day-long heat, and over time, the plastic gets brittle. Capacitors on the control board degrade faster in heat. The photo-eye lenses cloud from UV exposure. Remote control cases crack. These are environmental failures, not brand failures, and they happen to every operator that faces Murrieta’s southern exposure.
The second factor is the soil. Much of Murrieta sits on decomposed granite and sandy loam, which drains quickly but shifts with heavy rain. Gate posts set in this soil can settle or lean over time, especially if the original installer didn’t pour adequate footings. A gate that was perfectly level at installation will start to drag on the latch side or bind at the hinge side as the post moves. That dragging and binding is what kills operators, one overworked cycle at a time.
The third factor is irrigation. Sprinkler systems run close to gates all over the area, and the overspray is relentless. Water gets into the bottom of the operator housing, into the photo-eye junction boxes, and into the conduit that carries sensor wiring. The result is corrosion in the low-voltage wiring and intermittent sensor failures that make no sense until you open the junction box and see the green crust on the connections.
None of these conditions are reasons to avoid automatic gates. They’re reasons to choose components and installation methods that account for them. When we install a gate or replace an operator, we consider sun exposure, irrigation patterns, and soil conditions at the specific site. A generic parts replacement done without that local context is a repair that may not last.
Cost Comparison: DIY vs Professional in Murrieta
The numbers in the table below are typical ranges for the Murrieta market, based on what we see on estimate calls. They are estimates, not fixed prices, because every gate and site is different. Your written estimate will set the actual price before any work begins.
| Repair Task | DIY Parts Cost (Typical) | Professional Cost (Typical) | Risk Level if Done Wrong |
|---|---|---|---|
| Remote battery replacement | $5-$15 | Not usually a service call | None |
| Lubricate hinges and pivot points | $10-$20 in materials | $75-$150 as part of a tune-up | Low |
| Photo-eye lens cleaning | $0-$10 | $75-$120 if alignment also needed | Low |
| Control board replacement | $250-$500 for the board | $400-$800 total, diagnosed and installed | High |
| Limit switch adjustment | $0-$50 if buying the tool | $100-$200, often same visit | High (entrapment risk) |
| Loop detector replacement | $150-$300 for the module | $250-$500, including diagnosis | Medium |
| Hinge replacement on a sagging gate | $50-$120 for hinges | $200-$450, including realignment | Medium to High |
| Full operator replacement | $400-$1,200 for the unit | $900-$2,500 installed and programmed | High |
Look at the gap between the DIY parts cost and the professional cost on the high-risk items. The difference is the diagnosis, the installation, the calibration, and the warranty. When a board replacement fails because the underlying sensor problem wasn’t found, the homeowner pays the parts cost twice and still ends up calling us. The professional cost is the one where the problem gets solved the first time.
If you’re deciding between buying parts and calling for an estimate, call first. The estimate is free, and it gives you numbers to compare against. We work on LiftMaster, Mighty Mule, FAAC, BFT, and the rest of the nine major brands, so the diagnosis will account for what’s actually on your property. Your written estimate is the final word on price, quoted and agreed before any work starts.
Common Mistakes to Avoid
- Replacing the control board first. The board is the most expensive component, and it’s rarely the actual failure. Photo-eye alignment, wiring corrosion, and loop detector faults are far more common. Replacing the board without ruling those out is a costly guess.
- Adjusting limit switches to compensate for a sagging gate. If the gate only closes because the limits are set to force it past a bind, the motor is running at maximum load every cycle. The fix is a hinge and post realignment, not a limit switch trick. In Murrieta’s shifting soil, a sagging gate needs structural attention before the motor burns out.
- Using the wrong lubricant. WD-40 is a solvent, not a lasting lubricant. It will quiet a squeak for a week and then leave the hinge dry. Use white lithium grease or a silicone-based lubricant on your gate’s pivot points and hinges.
- Ignoring an intermittent fault because the gate “works most of the time.” Intermittent sensor failures don’t fix themselves. They get progressively worse, and the final failure is often a blown control board or a damaged motor. Fix the $150 problem now or the $500 problem later.
- Assuming any gate part will work with any operator. Mighty Mule, LiftMaster, FAAC, and BFT are not interchangeable. A control board from one brand won’t talk to the remotes, sensors, or motor from another. Buying a generic or wrong-revision part is the fastest way to waste money.
- Forgetting that the gate is a safety device, not just a convenience. A gate that doesn’t reverse on an obstruction is a legal liability in California. If you’ve done DIY work on the operator and someone gets hurt, the question of whether your work met the UL 325 standard is the first thing an attorney will ask.
- Skipping the professional diagnosis to save money. A free estimate tells you what’s actually wrong and what it costs to fix. Doing the diagnosis yourself means you pay for the parts you bought plus the professional repair when the guess doesn’t work.
See the difference
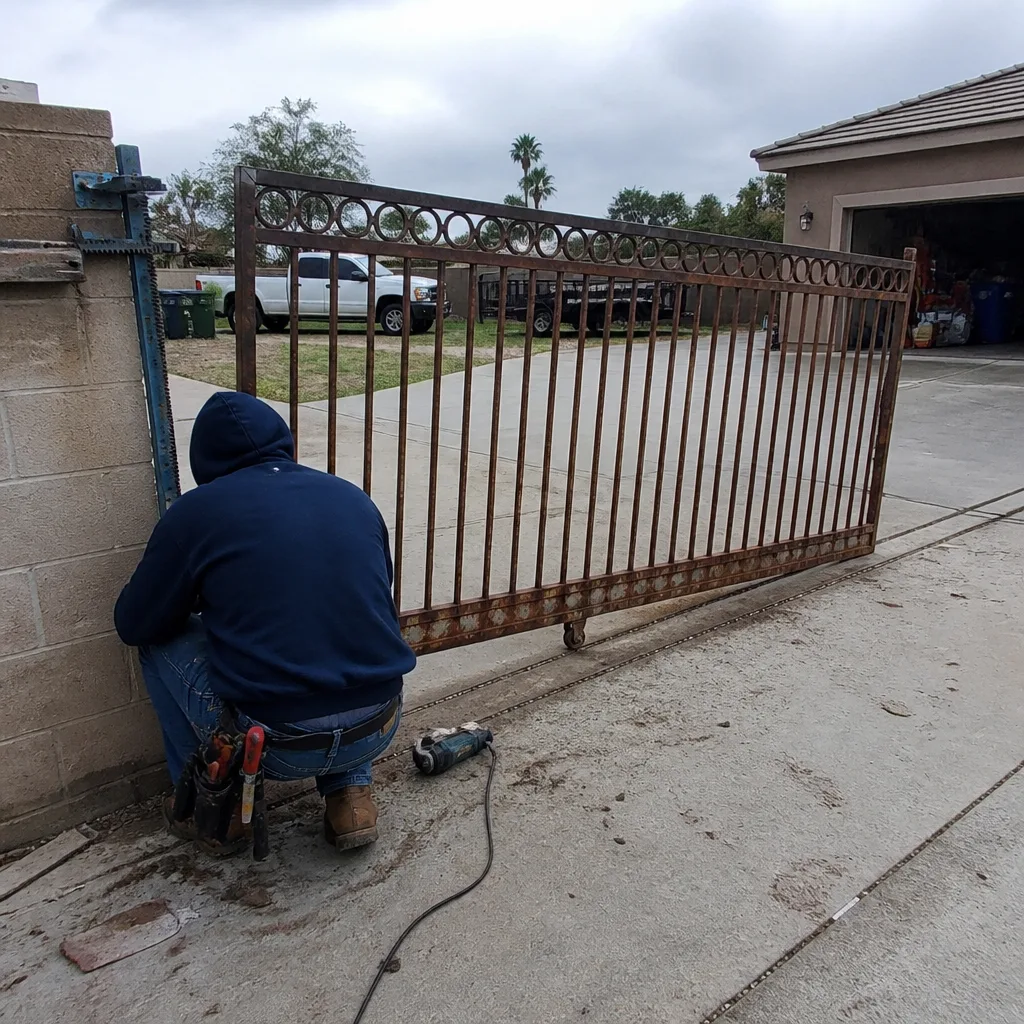 Before
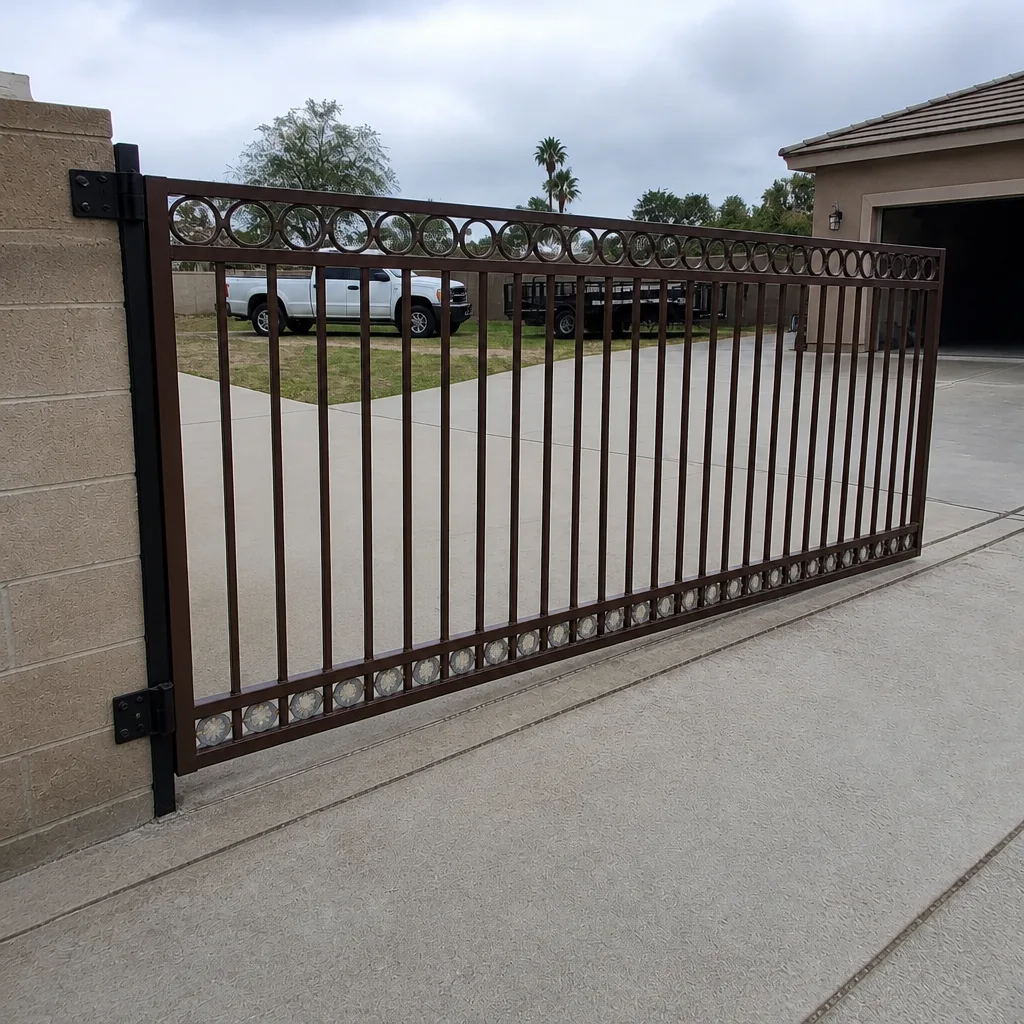 After
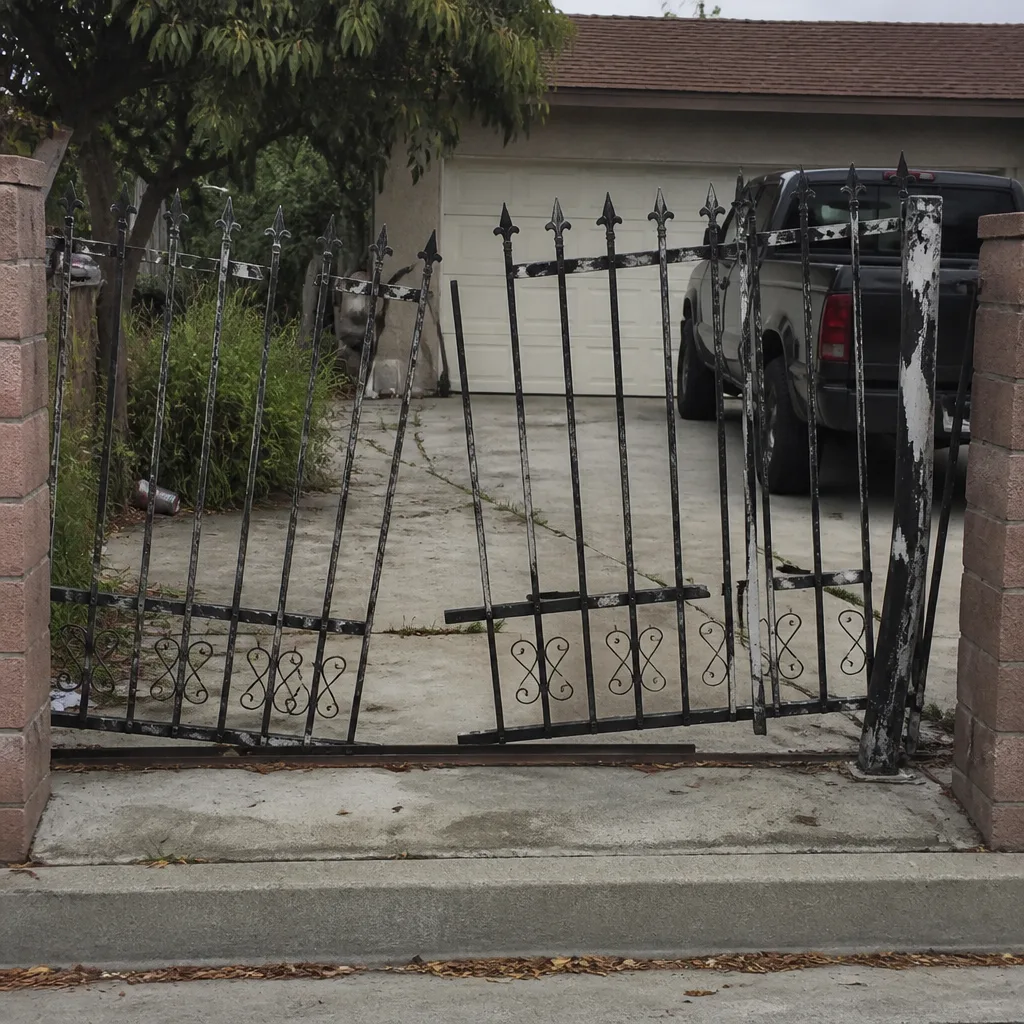 Before
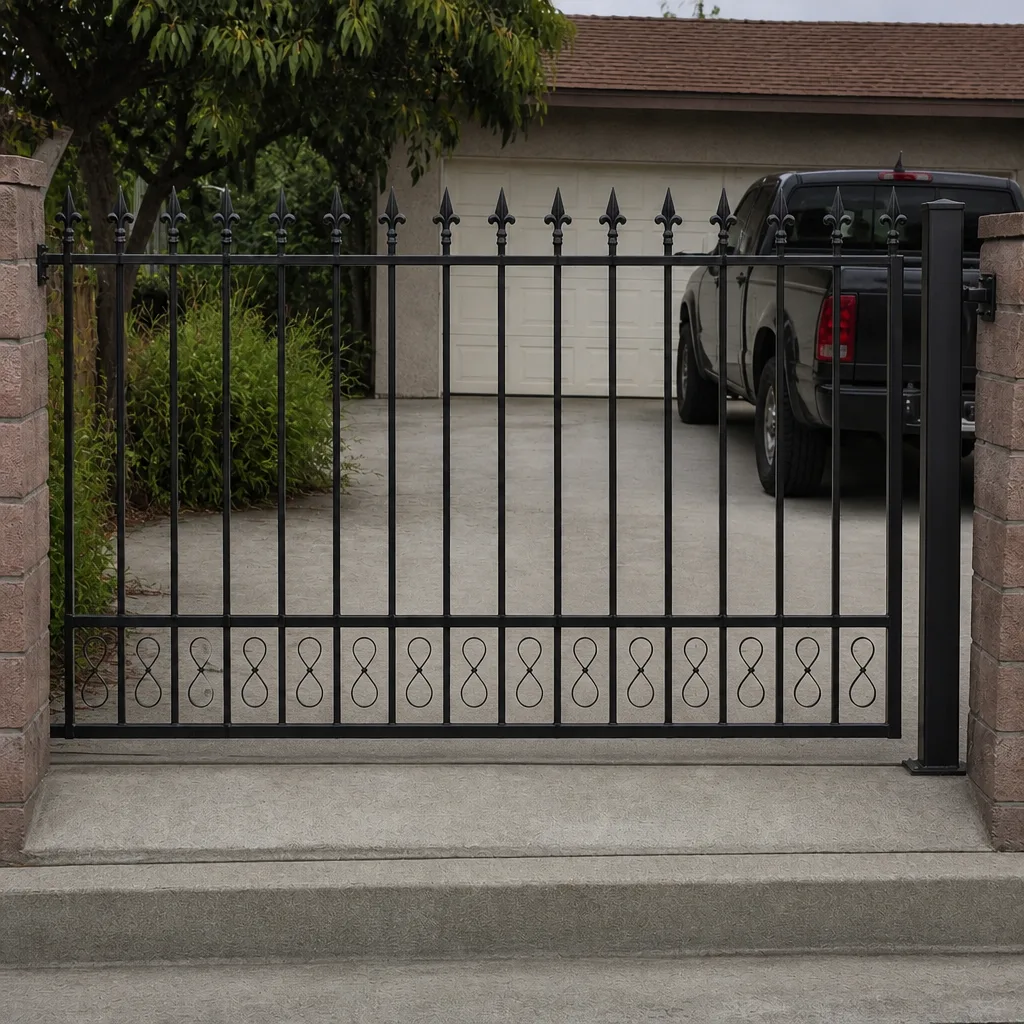 After
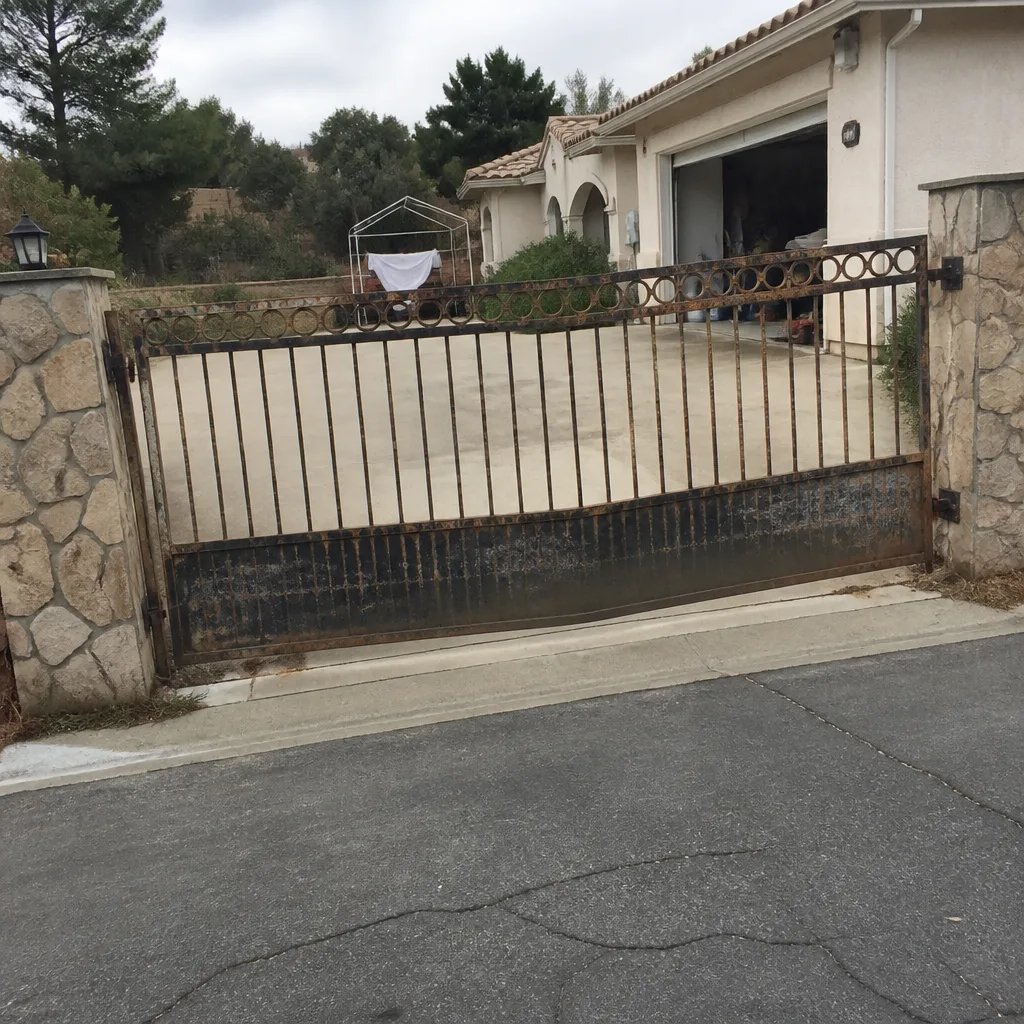 Before
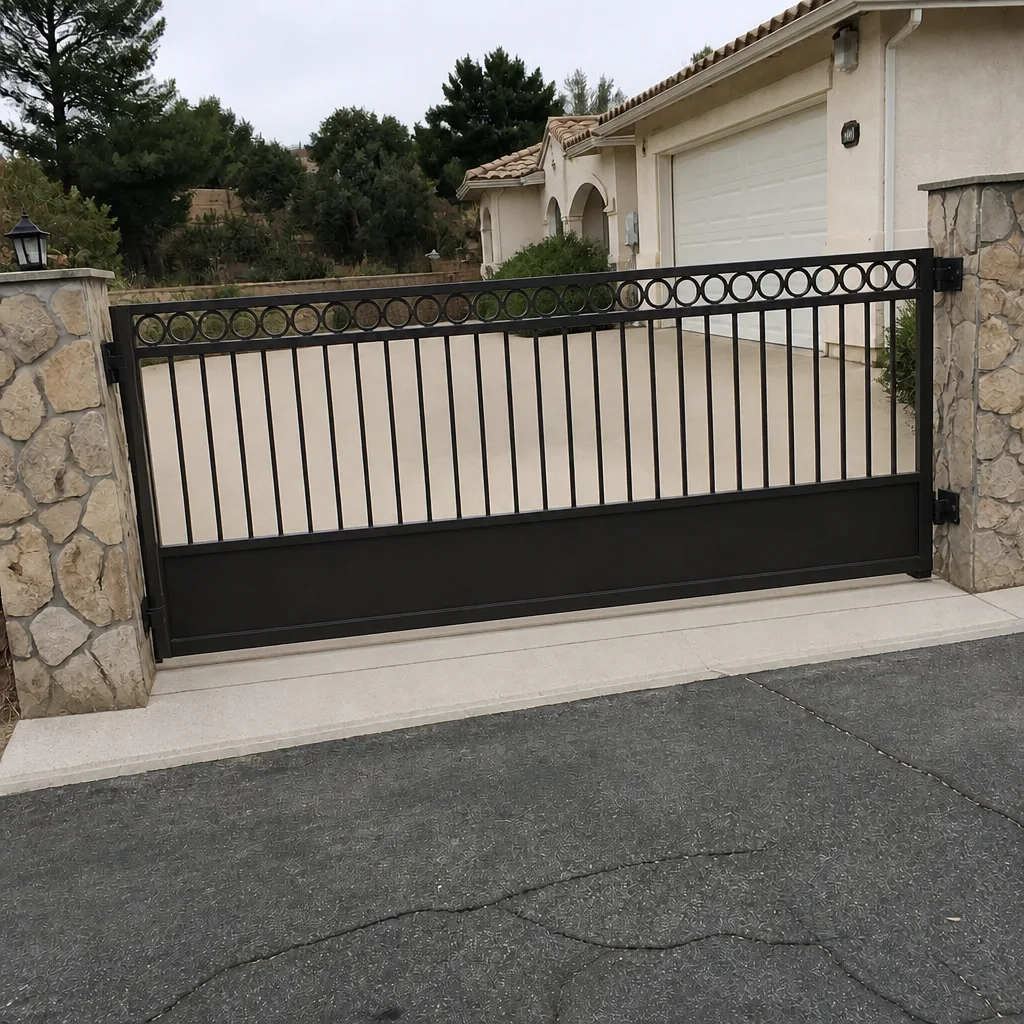 After
When to Call a Professional
Call a professional when the gate doesn’t sound right, doesn’t run at its normal speed, or doesn’t stop where it’s supposed to. Call when the safety sensors have been moved, hit, or are reporting a constant obstruction. Call when the gate has come off its track, when a post is leaning, or when the hinges are visibly worn. Call when the operator hums but the gate doesn’t move. Call when you’ve already replaced a part and the problem is still there. And call when you’re not sure what’s wrong but the gate is the only thing between your property and the street. Gate Repair Murrieta offers free estimates. Call (855) 817-0665. We answer 24/7. Fast dispatch from 7am to 7pm, Sunday through Friday.
Frequently Asked Questions
You can physically replace a control board, but we recommend against it unless you know the specific board revision and have ruled out sensor and wiring faults first. A board replacement that doesn’t solve the real problem is a $250 to $500 mistake, and if the board isn’t matched to your operator, you’ve introduced a new fault. Professional diagnosis costs nothing up front and tells you whether the board is actually the problem.
Lubricating hinges, cleaning photo-eye lenses, replacing remote batteries, and resetting a tripped breaker or reset button are safe homeowner tasks. They require no electrical work and no adjustment to safety systems. Anything involving wiring, limit switches, sensor positioning, or structural components should be handled by a professional.
Typical gate repair costs in Murrieta range from about $100 for a minor limit switch adjustment to $800 or more for a control board replacement with labor. Full operator replacement runs $900 to $2,500 installed, depending on the brand and site conditions. The estimate is free, and the written estimate sets the final price before any work starts.
Most manufacturer warranties on gate operators and components are voided by unauthorized repair or installation. If you open the operator housing and replace a board yourself, you’re likely outside the warranty terms. Professional installation from a qualified shop preserves the manufacturer’s coverage on new components and carries its own workmanship warranty.
In our experience, the most common failure we see in Murrieta is sensor and photo-eye faults caused by irrigation overspray and dust. The lenses get coated, the wiring corrodes inside the junction boxes, and the operator starts behaving erratically. It’s usually a straightforward fix, but it’s not one that responds to parts swapping without a proper diagnosis.
That depends on the gate’s structure as much as the operator. If the posts are solid and the frame is straight, replacing the operator and fixing the mechanical wear points is usually the smarter investment. If the gate is sagging from post movement, no new operator will fix that. Call (855) 817-0665 for a free estimate and we’ll tell you which path makes sense for your specific gate.
The Bottom Line
The DIY vs professional gate repair decision comes down to one question: does the task affect the gate’s safety systems or its electrical operation? If yes, the professional call is the correct one, not because homeowners can’t learn the skills, but because the cost of getting it wrong is measured in liability exposure and operator damage, not just wasted parts. Murrieta’s heat, soil, and irrigation patterns create specific failure modes that reward experience. A free estimate answers the diagnosis question without costing anything. Call (855) 817-0665. We answer 24/7. Fast dispatch from 7am to 7pm, Sunday through Friday.
Written by the team at Gate Repair Murrieta, serving Murrieta since 2013.